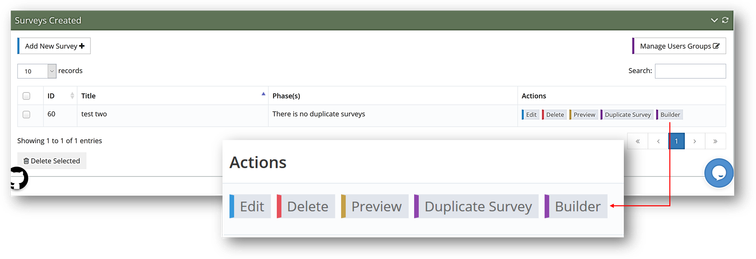
Creating a survey consists of two steps:
Create the survey’s interface:
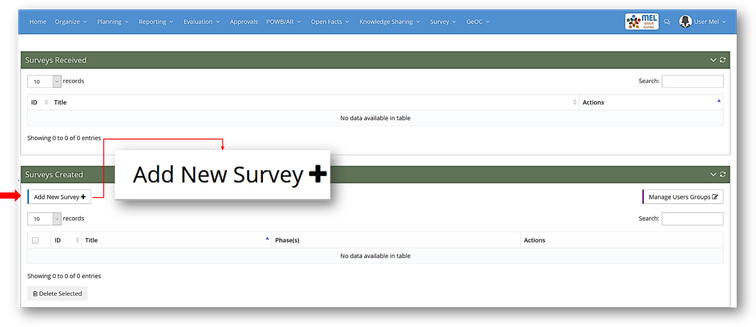
Click on “Add New” under the “Survey Created” section.
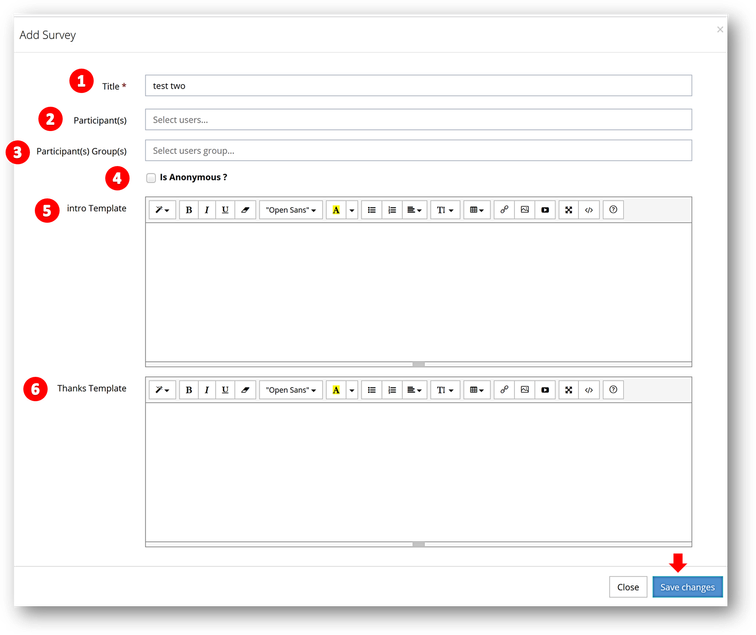
A popup window will open. Add the following information:
- Title* (1): The title of the survey.
- Participant(s) (2): Add the email addresses individually for the users that you want them participate in the survey.
- Participant(s) Group(s) (3): Use this option if you want to send the survey to a pre-defined group of users. The group of users is created from the manage users groups.
- Anonymous (4): Check the anonymous box if you do not want to see the respondent name but only to get the data.
- Intro Template (5): Write a small introduction explaining the objective of the survey.
- Thanks Template (6): Write a thank you message.
Remember that all the fields with asterisk are mandatory
Once finished, click on "Save Changes".
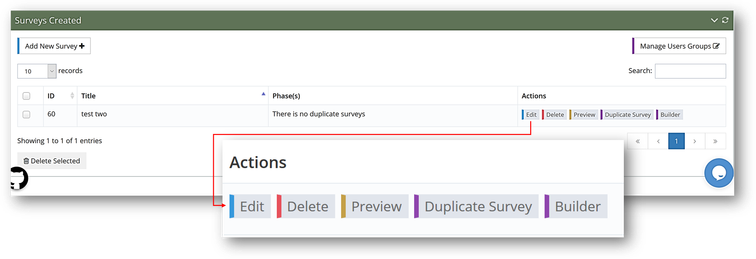
The survey’s interface is created. The saved survey will appear under the Surveys Created section with the following information.
- ID (1): The ID of the survey.
- Title (2): The title of the survey.
- Phase(s) (3): It indicates that the survey is duplicated and re-sent after a period of time.
- Actions (4): Contains the following:
- Edit
- Delete
- Preview
- Duplicate survey
- Builder
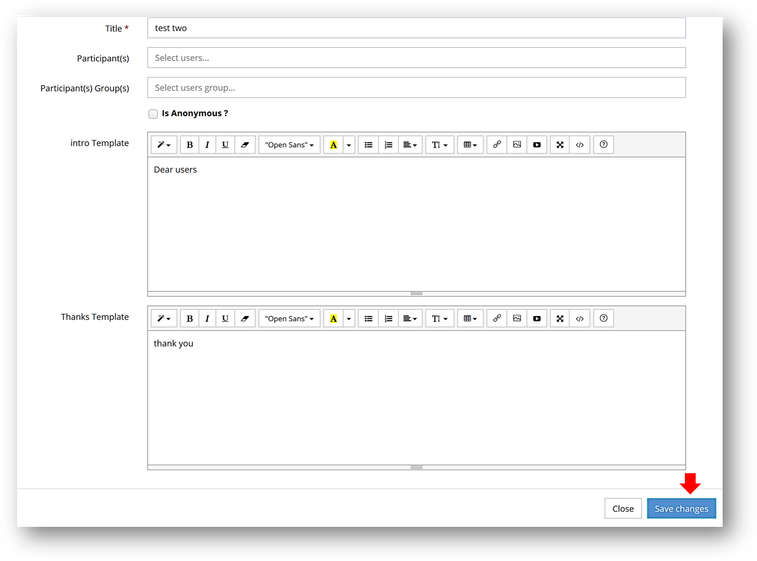
Edit: Click on “Edit” if you want to revise any information added to the survey’s interface.
The survey’s interface will open. Make the required changes and click on “save changes”.
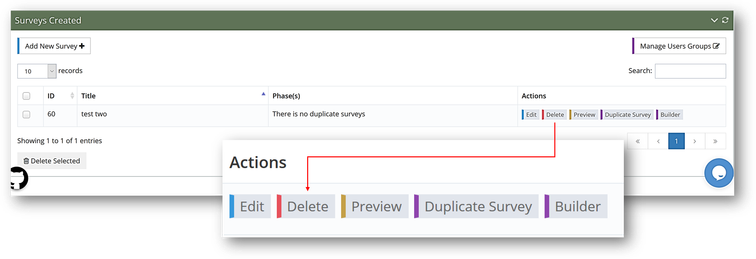
Delete: Click on “delete” to delete the survey.
A confirmation message will appear. Click on “Ok” to confirm the deletion or “Cancel” to stop the operation.
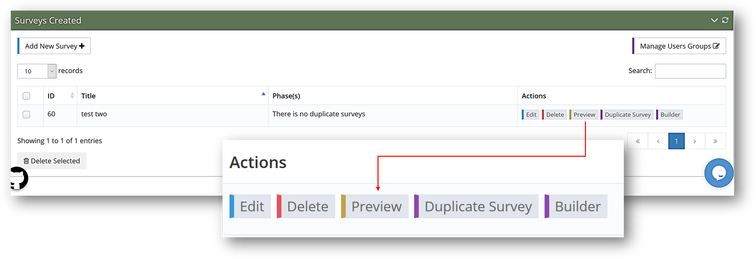
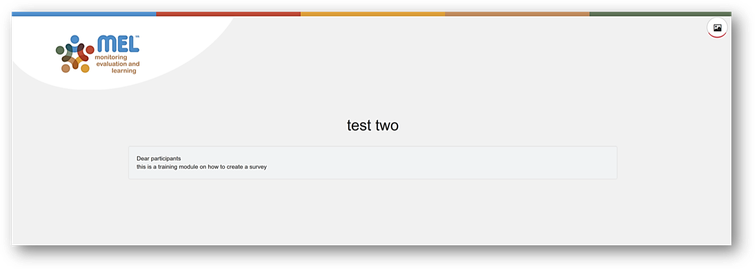
Preview: Click on “Preview” to see how the others will see the survey.
You will see it empty with the introduction message only as you did not start the second step of the survey which is creating the survey questions.
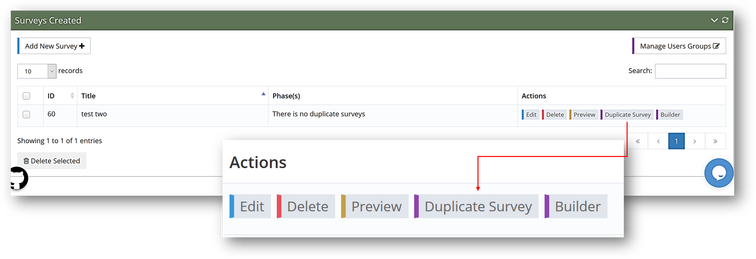
Duplicate survey: Click on “Duplicate survey” If you wish to organize a follow up survey after 1 or 2 years and assess the changes happened thanks to your activity.
Duplicate survey is usually used after the original survey is created, published and sent to the participants.
Note that once this is done, a note will be added under the phase(s) section
Builder: Click on “Builder” to create the survey’s questions, which is the second step of creating a survey.
